February 17, 2025, 3:55 pm | Read time: 5 minutes
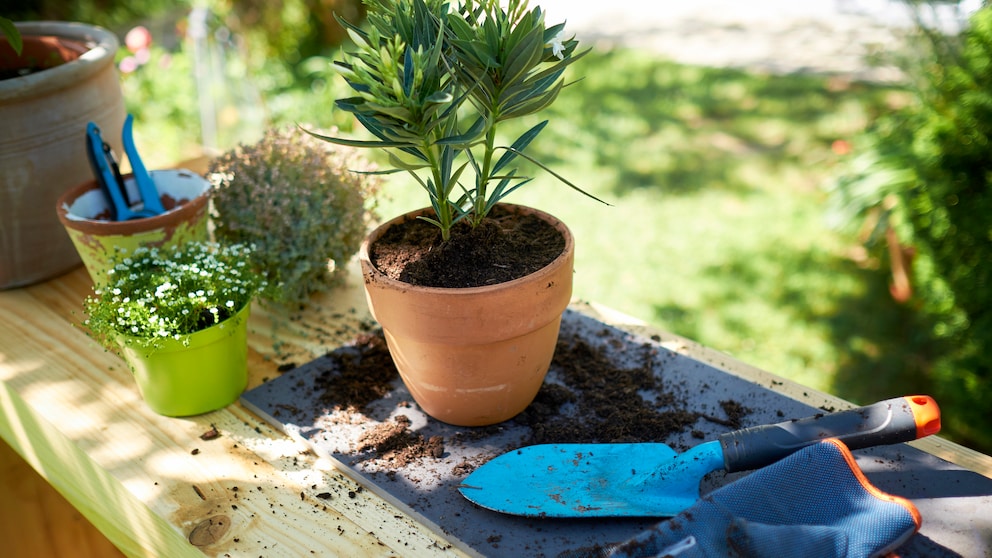
Potted plants enhance patios and balconies and, when cleverly arranged, can create a miniature garden feeling even in small spaces. myHOMEBOOK reveals how and why they should be repotted regularly.
Oleander, grasses, and even bamboo are classics among the easy-care potted plants that can be found on many terraces for good reason. They create green accents and can turn even the most sterile balcony into a living refuge. Even though most of these potted plants are relatively easy to care for, they also need to be moved regularly to a larger pot. Below, myHOMEBOOK explains what to consider when repotting potted plants.
Overview
Why Do You Need for Repotting Potted Plants?
Just like any other plant, potted plants continue to grow year after year. This is despite the limited space around the root ball. To keep the plants vital, they, therefore, regularly need a larger home for their roots. Over time, these take up all the space in the pot and form a dense network of roots into which water and nutrients can hardly penetrate.
In addition, oleander and co. quickly use up the nutrients in the substrate, and it becomes compacted. Dead roots can also cause rotting in the pot and attract pathogens and pests.
When Is the Ideal Time for Repotting Potted Plants?
Fall marks the start of winter dormancy; plants stop growing, and balcony gardeners should ensure they have adequate frost protection. In contrast, spring is the ideal time for repotting. Now, the new shoots of the potted plant are about to appear, and with a fresh substrate, this can take place all the more vigorously.
But does the potted plant need repotting at all? These are clear signs:
- The plant looks relatively too large compared to the pot
- The roots are making their way out of the drainage holes
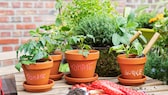
- The root ball looks extremely compacted, and there is hardly any substrate left. As a result, the plant dries out very quickly
Possible Even with Little Space Growing Cucumbers on the Balcony – How to Harvest Successfully
Causes and Elimination What Prevents Mold in Houseplant Containers
Natural air freshener Planting and care tips for the Australian lemon leaf
How to Repot Potted Plants: Step-by-Step
With good preparation and the right material, repotting potted plants can be done quickly. A dry and mild spring day is best. Heavy frosts should no longer be expected.
Material
- Pot: The new pot should be two to four centimeters larger in circumference than the previous one. Many amateur gardeners tend to use a pot that is too large to avoid frequent repotting. However, this can lead to rotting in the worst-case scenario, as there would be disproportionately more soil in the pot, which retains water.
- Substrate: It’s important not to skimp on the potting soil. High-quality potting soil, precisely tailored to the needs of the specific plant, ensures better growth and, for flowering plants, more blooms. Mediterranean plants such as oleander and the like need different substrates to grasses, for example.
- Drainage material: Gravel, shards of clay, or expanded clay at the bottom of the pot ensure that the water can drain away better and prevent waterlogging.
- Equipment: Gloves, secateurs, and a small hand shovel are usually sufficient for repotting potted plants. A hand brush and broom will assist with cleanup afterward.
Instructions
- Water the potted plant to be repotted generously a few hours before repotting. This loosens the soil and roots and makes it easier to pull the plant out of the old pot.
- Now hold the plant by the stem or, for grasses, grasp all the stems and shoots by hand and carefully pull them out of the pot. If the root ball does not come loose, gently push it through the drainage hole from below with a finger.
- Now, examine the root ball thoroughly by gently pulling the roots apart. Cut off old and dead roots with sharp scissors and remove old substrate from the gaps.
- Next, add a drainage layer to the bottom of the new pot. To do this, for example, place clay shards on the drainage hole so that a cavity is created or spread coarse gravel over the hole.
- Then, fill with the new substrate to about one-third full. Place the plant in the middle of this layer of soil. There should still be enough space above the root ball of the potted plant so that a fresh layer of soil about 10 centimeters high can be applied.
- Fill the remaining spaces with the substrate, press everything down firmly, and, finally, cover the root ball with fresh soil.
- Lastly, water the plant thoroughly in the new container. Ensure the water drains properly and the soil in the pot is thoroughly moistened.